Nawiązując do nowej funkcji nettempa, czyli obsługi czujników wilgotności DHT11, musiałem sobie zbudować tester takich czujników. Najlepiej na Arduino, więc zobaczcie jak to zrobiłem.
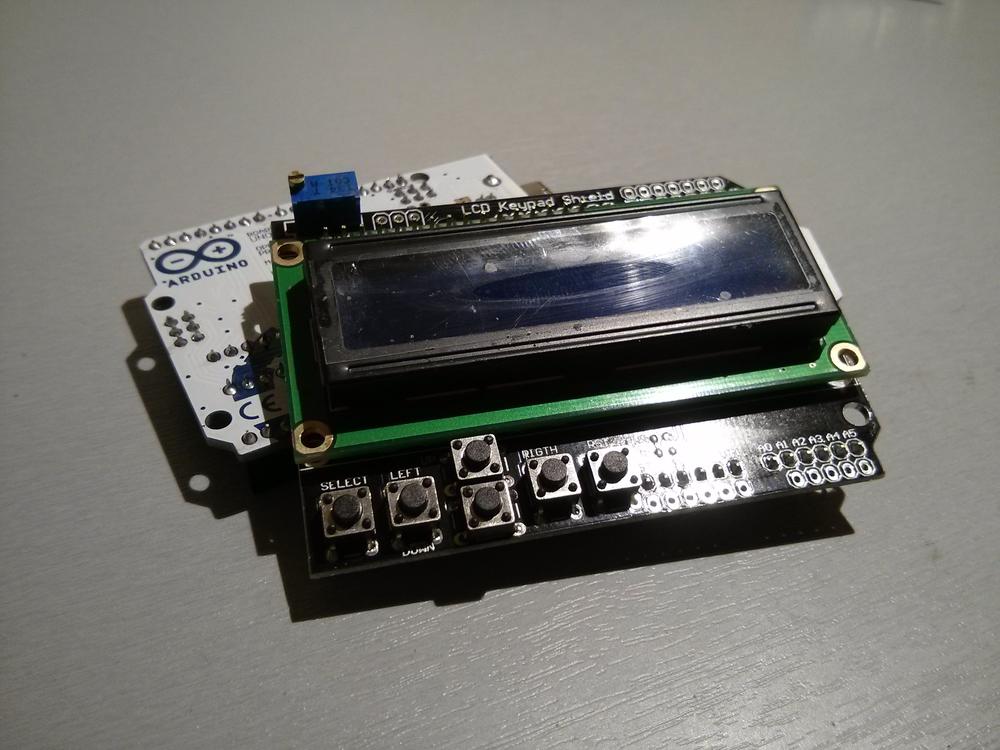
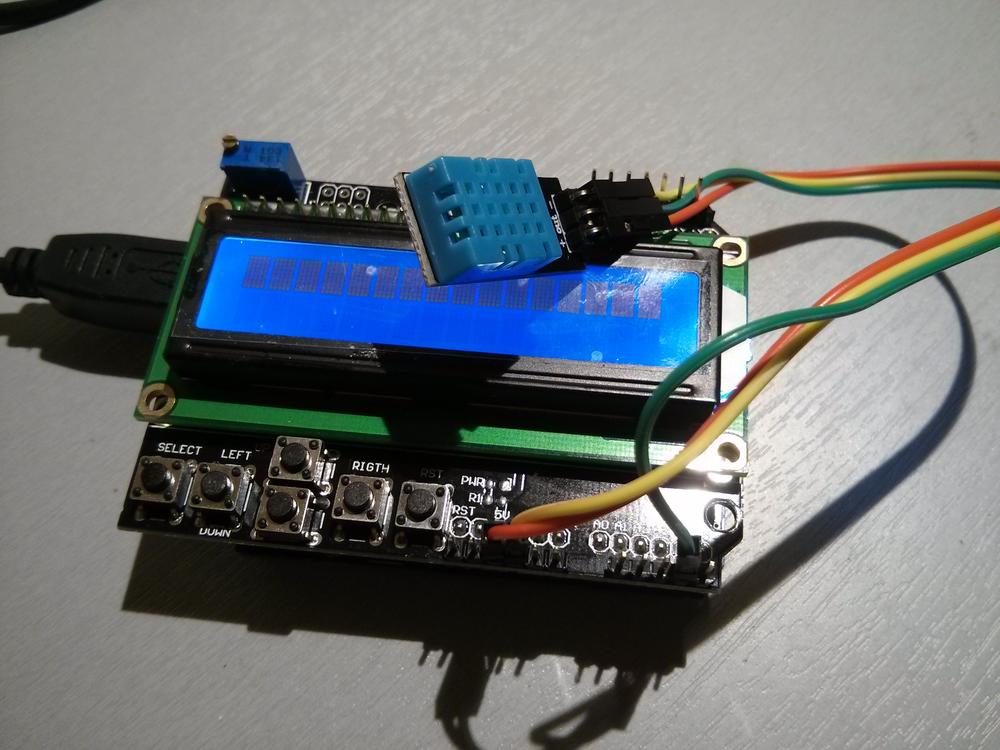
Arduino i LCD 2×16 shield to fajna sprawa, dzięki takim kanapkom można łatwo i fajnie ożywić swój projekt. Ja dołączyłem jeszcze do tego czujnik temperatury i wilgotności DHT11.
Hardware jest ale potrzeby był jeszcze program dla Arduino. Trochę pogooglałem i dopiero po jakimś czasie znalazłem fajny wsad który dobrze działa z DHT11 i odczytuje go co dwie sekundy bez błędów. Link do wątku na forum arduino. A ja go trochę zmodyfikowałem dodając obsługę LCD shielda, tak aby wyświetlał wyniki w dwóch liniach. Naprawdę nic trudnego. Kod poniżej.
/*  DHT11 Example Sketch Code for reading the sensor without delay on your program!
 Example Code by: Nick Athanasoulas
 Date: 27/5/2012
 FUNCTION: It reads the sensor every 2 seconds without delays.
 The user can also use the temperature and humidity values directly as an integer
 and compare it to other values without making new arrays.
 Date; 07/12/2013 add LCD2x16 techfreak.pl
 */

#include <LiquidCrystal.h>

#define DHT11_PIN 4      // ADC0  Define the ANALOG Pin connected to DHT11 Sensor
int temp1[3];                //Temp1, temp2, hum1 & hum2 are the final integer values that you are going to use in your program.
int temp2[3];                // They update every 2 seconds.
int hum1[3];
int hum2[3];

byte read_dht11_dat()
{
  byte i = 0;
  byte result=0;
  for(i=0; i< 8; i++){

    while(!(PINC & _BV(DHT11_PIN)));  // wait for 50us
    delayMicroseconds(30);

    if(PINC & _BV(DHT11_PIN))
      result |=(1<<(7-i));
    while((PINC & _BV(DHT11_PIN)));  // wait '1' finish

  }
  return result;
}

long dht11delay_previousMillis = 0;        // will store last time LED was updated
long dht11delay_interval = 1000;           // dht11delay_interval at which to blink (milliseconds)

// initialize the library with the numbers of the interface pins
//LiquidCrystal lcd(12, 11, 5, 4, 3, 2);
LiquidCrystal lcd(8, 9, 4, 5, 6, 7);

void setup()
{
  DDRC |= _BV(DHT11_PIN);
  PORTC |= _BV(DHT11_PIN);

  // set up the LCD's number of columns and rows:
  lcd.begin(16, 2);

  Serial.begin(9600);
Serial.println("DHT11 without delay");
Serial.println("Example code by: Nick Athanasoulas");
  Serial.println("Ready");
  delay(1000);
}

void loop()
{

  // set the cursor to column 0, line 1
  // (note: line 1 is the second row, since counting begins with 0):
  lcd.setCursor(0, 1);
  // print the number of seconds since reset:
  //lcd.print(millis()/1000);

  unsigned long dht11delay_currentMillis = millis();

  if(dht11delay_currentMillis - dht11delay_previousMillis > dht11delay_interval) {
    // save the last time you blinked the LED
    dht11delay_previousMillis = dht11delay_currentMillis;
    byte dht11_dat[5];
    byte dht11_in;
    byte i;
    // start condition
    // 1. pull-down i/o pin from 18ms
    PORTC &= ~_BV(DHT11_PIN);
    delay(18);
    PORTC |= _BV(DHT11_PIN);
    delayMicroseconds(40);

    DDRC &= ~_BV(DHT11_PIN);
    delayMicroseconds(40);

    dht11_in = PINC & _BV(DHT11_PIN);

    if(dht11_in){
      lcd.println("dht11 start condition 1 not met");
      return;
    }
    delayMicroseconds(80);

    dht11_in = PINC & _BV(DHT11_PIN);

    if(!dht11_in){
      lcd.println("dht11 start condition 2 not met");
      return;
    }
    delayMicroseconds(80);
    // now ready for data reception
    for (i=0; i<5; i++)
      dht11_dat[i] = read_dht11_dat();

    DDRC |= _BV(DHT11_PIN);
    PORTC |= _BV(DHT11_PIN);

    byte dht11_check_sum = dht11_dat[0]+dht11_dat[1]+dht11_dat[2]+dht11_dat[3];
    // check check_sum
    if(dht11_dat[4]!= dht11_check_sum)
    {
      lcd.println("DHT11 checksum error");
    }

lcd.setCursor(0, 0);
    temp1[0]=dht11_dat[2];
    temp2[0]=dht11_dat[3];
    lcd.print("Temp: ");
    lcd.print(temp1[0]);
    lcd.print(".");
    lcd.print(temp2[0]);
    lcd.print(" C");
   // lcd.print("    ");
lcd.setCursor(1, 1);
    hum1[0]=dht11_dat[0];
    hum2[0]=dht11_dat[1];
    lcd.print("Humidity: ");
    lcd.print(hum1[0]);
    lcd.print(".");
    lcd.print(hum2[0]);
    lcd.println("%");

  }
}
// END OF CODE
A poniżej odczyty już na LCD.
Wygląda na to że odczyty są poprawne. A wiec szukam dalej jak usprawnić obsługę w Raspberry Pi i nettemp.


